
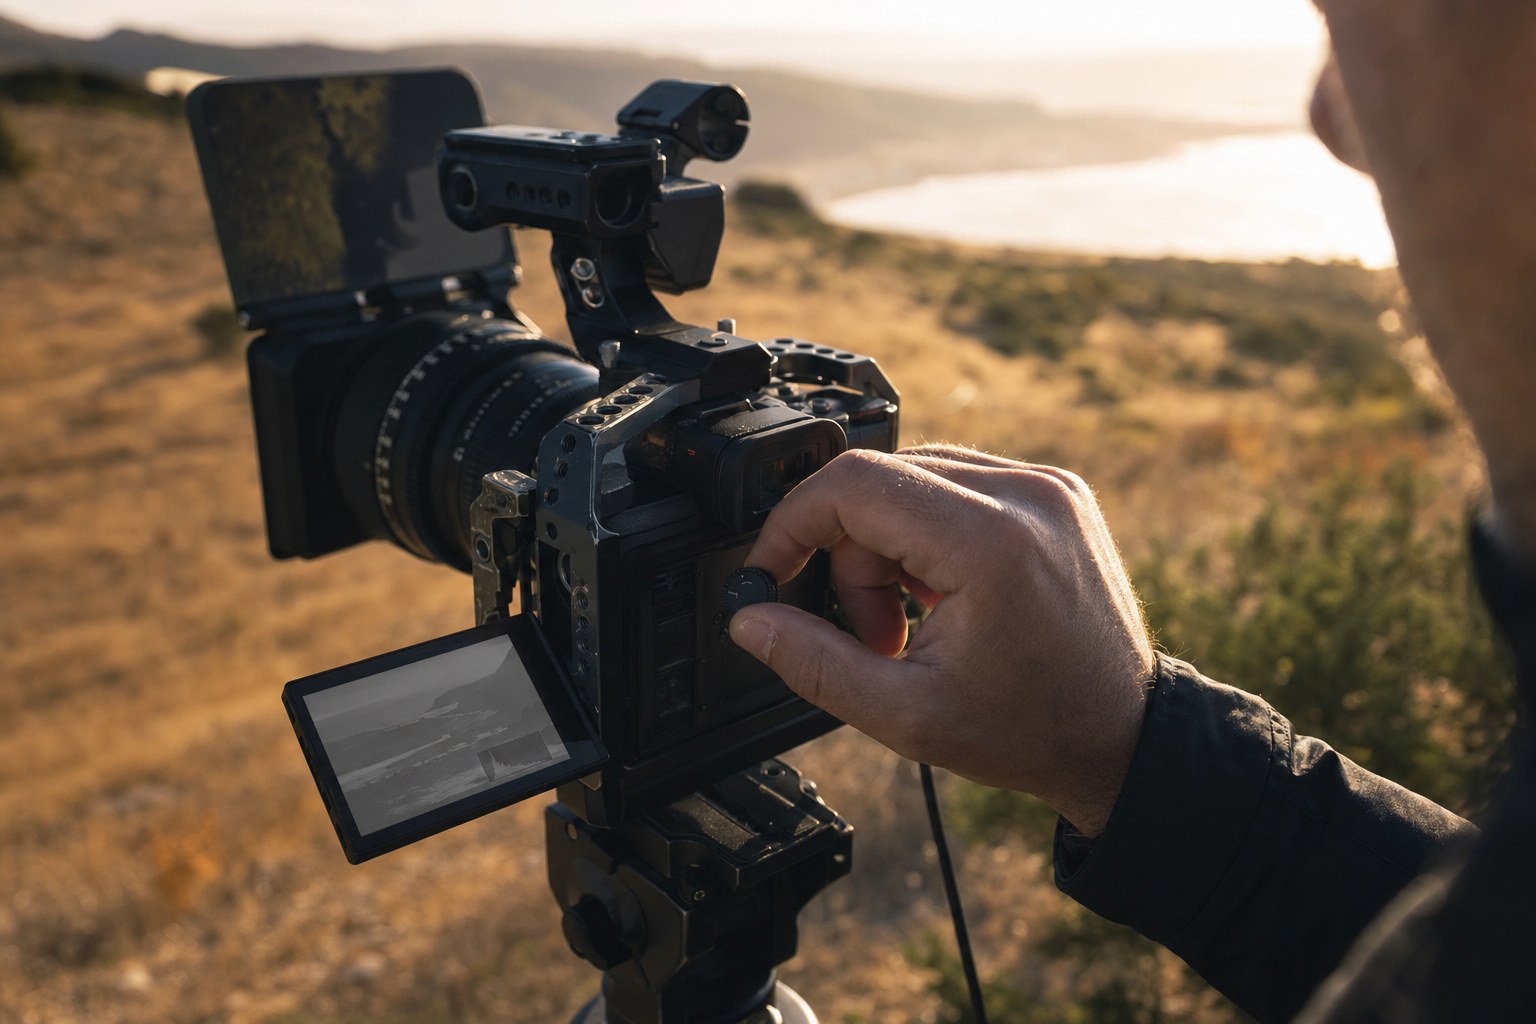
Log footage that grades badly is usually not a colour problem. It is an exposure
problem that only becomes visible once you convert, by which point the shoot is over.
The reason is simple, and once you see it you will not forget it.
Why log wants more light
Log spreads the sensor’s range across the file so that highlights and shadows both
survive. That redistribution puts a lot of information into the darker part of the
signal, which is also the part where sensor noise lives.
When you convert back to Rec.709, those dark values get stretched upward. Anything
hiding down there comes with them, including the noise. Expose brighter and the image
sits further away from the noise floor, so the conversion has clean information to lift.
This is why the standard advice for most log formats is to expose to the right, or
one to two stops above what the monitor makes you want to do.
Do not judge it by eye
A log image on the camera screen looks washed out and bright even when it is
underexposed. Trusting your eye here is the fastest route to disappointing footage.
Worse, if you have a preview LUT running, the monitor is actively lying to you. The
preview makes a dark image look fine, because that is its job. Use the tools instead.
The two tools that work
False colour assigns a colour to each brightness range. Learn what
your camera uses for correct skin and set exposure by that. It is the fastest reliable
method on set and it does not care what the screen looks like.
Waveform shows the actual signal levels. Most log formats want middle
grey somewhere around 40 percent and skin a little above that, though the exact figures
differ per format, so check what your camera manufacturer publishes.
Zebras work too, but they only tell you about clipping, not about whether you have
enough signal in the middle.
Where the limit is
Exposing brighter is not free. Push far enough and the highlights clip, and clipped
highlights are gone permanently. There is no conversion and no LUT that brings them
back.
So the rule is: as bright as you can go without clipping anything you care about. A
specular reflection on chrome can clip. A window behind your subject probably cannot.
The test worth doing once
Shoot the same scene at your normal exposure, one stop over and two stops over. Take
all three into the edit, convert them, and bring them to the same brightness.
You will see the noise difference immediately, and you will know exactly how far your
camera can be pushed. Twenty minutes once, and it changes how you shoot afterwards.
The grade the exposure was for
See it in motion
Exposing log properly only matters if the grade follows. The CINEMA LUT pack covers both halves of that: conversions for seventeen log formats to bring the image back to correct, and 24 graded looks for what you do after.
What’s included
| Cinematic looks | 24, retro, moody and black & white |
| Conversion LUTs | 17 log formats, C-Log3 and S-Log3 included |
| Monitor versions | 17×17, for on-set preview |
| Installation guide | step-by-step PDF |
| Works in | Premiere, DaVinci, Final Cut, LumaFusion |
$29.95$44.95instant downloadGet CINEMA
What this means for grading
Correctly exposed log converts cleanly and takes a strong look without falling apart.
Underexposed log fights you at every step, and no amount of colour work rescues it.
If you want to try a clean conversion on your own footage, our
conversion LUTs are free for fifteen cameras, and the
look packs are what goes on top once the image is neutral.