
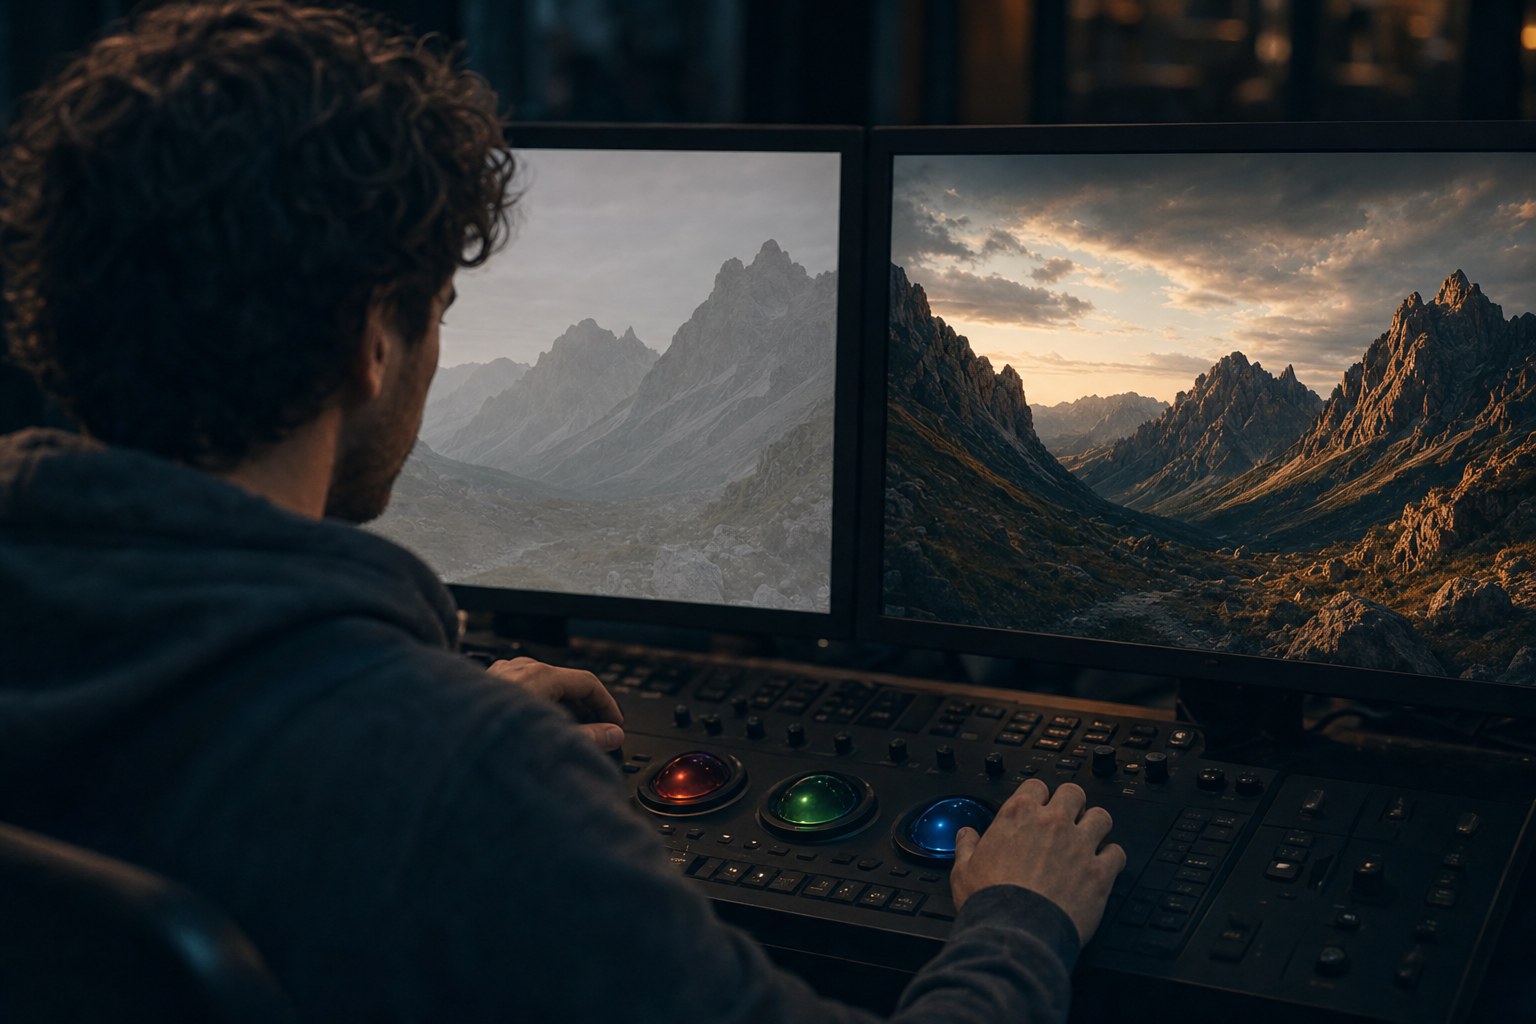
Log footage looks flat, grey and washed out straight out of camera. That is not a
fault, it is the point. Log squeezes the full dynamic range of the sensor into a file
so nothing clips in the highlights and nothing blocks up in the shadows. The cost is
that it looks wrong until you convert it.
A conversion LUT is what undoes that squeeze. It maps your camera’s log curve back
to Rec.709, the standard most screens expect. It is not a look. It is the step before
the look.
Conversion LUT vs creative LUT
These two get mixed up constantly, and it is the single most common reason a grade
falls apart.
- A conversion LUT is technical. It takes S-Log3, C-Log3, V-Log or
whatever your camera shot and returns a correct, neutral Rec.709 image. There is one
right answer per log curve. - A creative LUT is a look. Teal and orange, bleach bypass, film
emulation. It is a matter of taste and there is no right answer.
Order matters. Conversion first, look on top. Apply a creative LUT directly to log
footage and it will be applied to an image that is still compressed, which is why the
result usually goes muddy or oversaturated.
Why the LUT has to match the exact curve
Camera makers ship several log formats and they are not interchangeable. Sony has
S-Log2 and S-Log3. Canon has C-Log, C-Log2 and C-Log3. DJI has D-Log and D-Log M.
Blackmagic changes the curve between colour science generations.
Using the wrong one is worse than using none, because the result looks almost right.
Contrast sits slightly off, skin tones drift, and you spend an hour correcting something
that was never a grading problem in the first place.
How to apply one
DaVinci Resolve. Copy the .cube file to your LUT folder, right-click
in the LUT browser and choose Refresh. Apply it to the first node in your chain.
Premiere Pro. Lumetri Color, Basic Correction, Input LUT, Browse.
Use Input LUT rather than Creative, so the conversion happens before your look.
Final Cut Pro. Add the Custom LUT effect to the clip and load the
file in the effect settings.
Photoshop. Add a Color Lookup adjustment layer and load the 3D LUT.
What about monitor LUTs
The 17×17 versions in our packs are for on-set use, loaded into a monitor or the
camera itself so you can judge exposure and framing on a corrected image while still
recording log. They are lower resolution on purpose, because that is what most monitors
accept. Do not use them for the actual grade, use the 33×33 versions.
Every conversion in one place, with the looks to match
See it in motion
If you shoot on more than one system the conversions start piling up, one download per camera. The Cinematic Mega Bundle puts all seventeen log formats in a single folder with no duplicates, and adds the 145 graded looks for the second step. Convert, then choose the look, without hunting for files.
What’s included
| Looks | 145 across four packs |
| Conversion LUTs | 21 files, 17 log formats, no duplicates |
| Cameras covered | Apple, Sony, Canon, DJI, Panasonic, Nikon, Fujifilm, ARRI, RED |
| Monitor versions | 17×17 for every conversion |
| Works in | Premiere, DaVinci, Final Cut, LumaFusion |
$89.95$179.80instant downloadGet the bundle
Get the LUTs
We give away conversion LUTs for fifteen camera systems, free, no payment details
needed. Sony, Canon, Panasonic, Fujifilm, Nikon, DJI, ARRI, RED and Blackmagic.
Download the complete
conversion pack, or grab just the one you need:
Once your footage is neutral, our LUT packs take it the rest
of the way.