
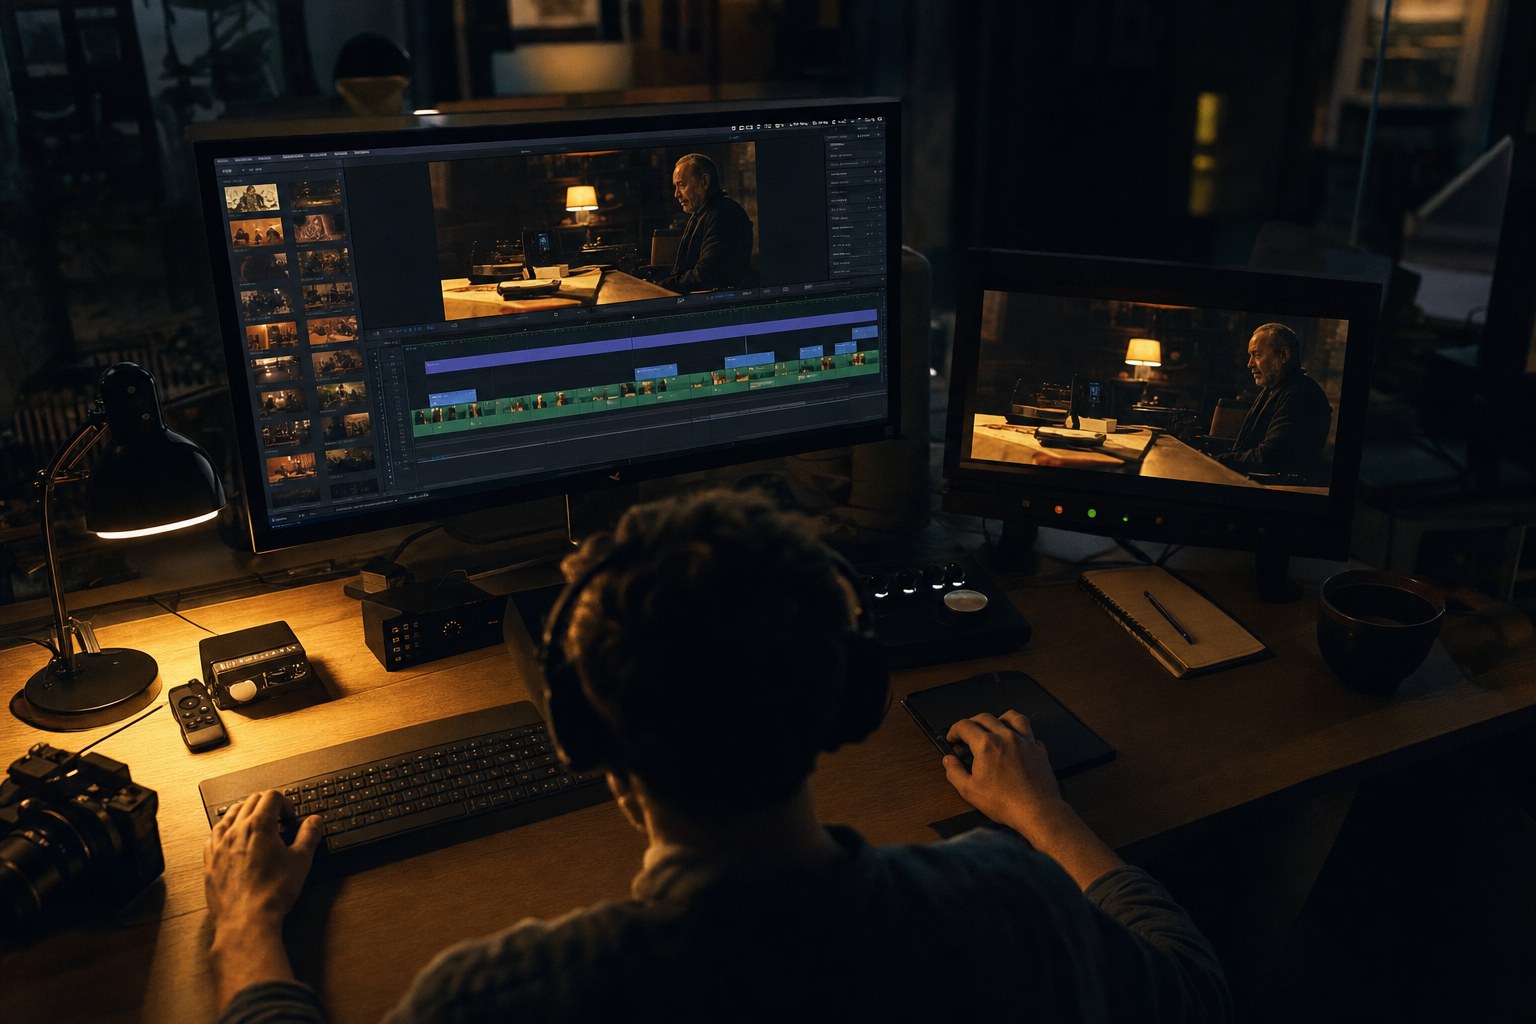
Final Cut Pro handles LUTs in two separate places, and most of the confusion in this
corner of the app comes from not knowing which one you are in. One of them converts your
footage. The other applies a look. Put a look in the conversion slot and the image will
be wrong in a way that is hard to trace.
Here is where each belongs.
The two places LUTs live
Camera LUT sits in the clip inspector and exists to convert log
footage to Rec.709. It runs before everything else in the pipeline. This is where a
conversion LUT goes, and nothing else.
Custom LUT effect is a normal effect you drag onto a clip from the
effects browser. It runs after the camera LUT and after your corrections. This is where
a creative look goes.
If you only remember one thing: conversion in Camera LUT, look in Custom LUT. Doing it
the other way round is the single most common reason a grade falls apart in Final Cut.
Installing a conversion LUT
- Select the clip in the timeline.
- Open the inspector and go to the Info tab.
- Find the Camera LUT dropdown. Choose Custom Camera LUT at the bottom.
- Browse to your .cube file and open it.
Final Cut copies the file into its own library, so you do not need to keep the
original in a particular folder. Once loaded it appears in the dropdown for every future
clip.
If Final Cut already detected the log format and set a camera LUT automatically,
replace it rather than adding a second one. Two conversions stacked will look heavily
crushed and oversaturated.
Installing a creative LUT
- Open the effects browser and search for Custom LUT.
- Drag it onto the clip.
- In the inspector, click the LUT dropdown inside the effect and choose Choose Custom
LUT. - Select your .cube file.
The effect has an Amount slider. Leave it at 100 while you judge the look, then pull
it back if it is too strong. Most looks are built to sit at full strength on correctly
exposed footage, so if you routinely need it at 40 the problem is usually upstream.
The order that actually works
Camera LUT first to get to Rec.709. Then your own corrections, exposure and white
balance, so the image is neutral and sensible. Then the creative LUT on top.
Grading before converting is the other classic mistake. You end up fighting the log
curve with tools that expect normal contrast, and every adjustment does something
slightly unexpected.
When it still looks wrong
Three things account for nearly all of it.
Two conversions. Check the Camera LUT dropdown before assuming the
look is at fault. Final Cut may have set one for you.
Wrong log format. An S-Log3 conversion on S-Log2 footage will not
error, it will just look off. The same goes for D-Log versus D-Log M.
Nothing is wrong. Log footage that was underexposed will look noisy
and thin no matter which LUT you use. That is an exposure problem, not a LUT problem.
A set that covers both slots
See it in motion
This guide splits LUTs into conversion and creative, and most packs only give you one of the two. The CINEMA LUT pack has both: conversions for seventeen log formats for the camera LUT slot, and 24 graded looks for the custom LUT effect on top.
What’s included
| Cinematic looks | 24, retro, moody and black & white |
| Conversion LUTs | 17 log formats, C-Log3 and S-Log3 included |
| Monitor versions | 17×17, for on-set preview |
| Installation guide | step-by-step PDF |
| Works in | Premiere, DaVinci, Final Cut, LumaFusion |
$29.95$44.95instant downloadGet CINEMA
Files that work
Final Cut wants .cube files. Anything in a camera-specific format like Panasonic .vlt
will not load, and the 3D LUT sizes normally used for grading, 33 and 65 points, both
work fine.
Our free conversion LUTs cover fifteen cameras and are all
.cube, so they load straight into the Camera LUT slot. If you want looks to put on top
afterwards, that is what the paid packs are for.