
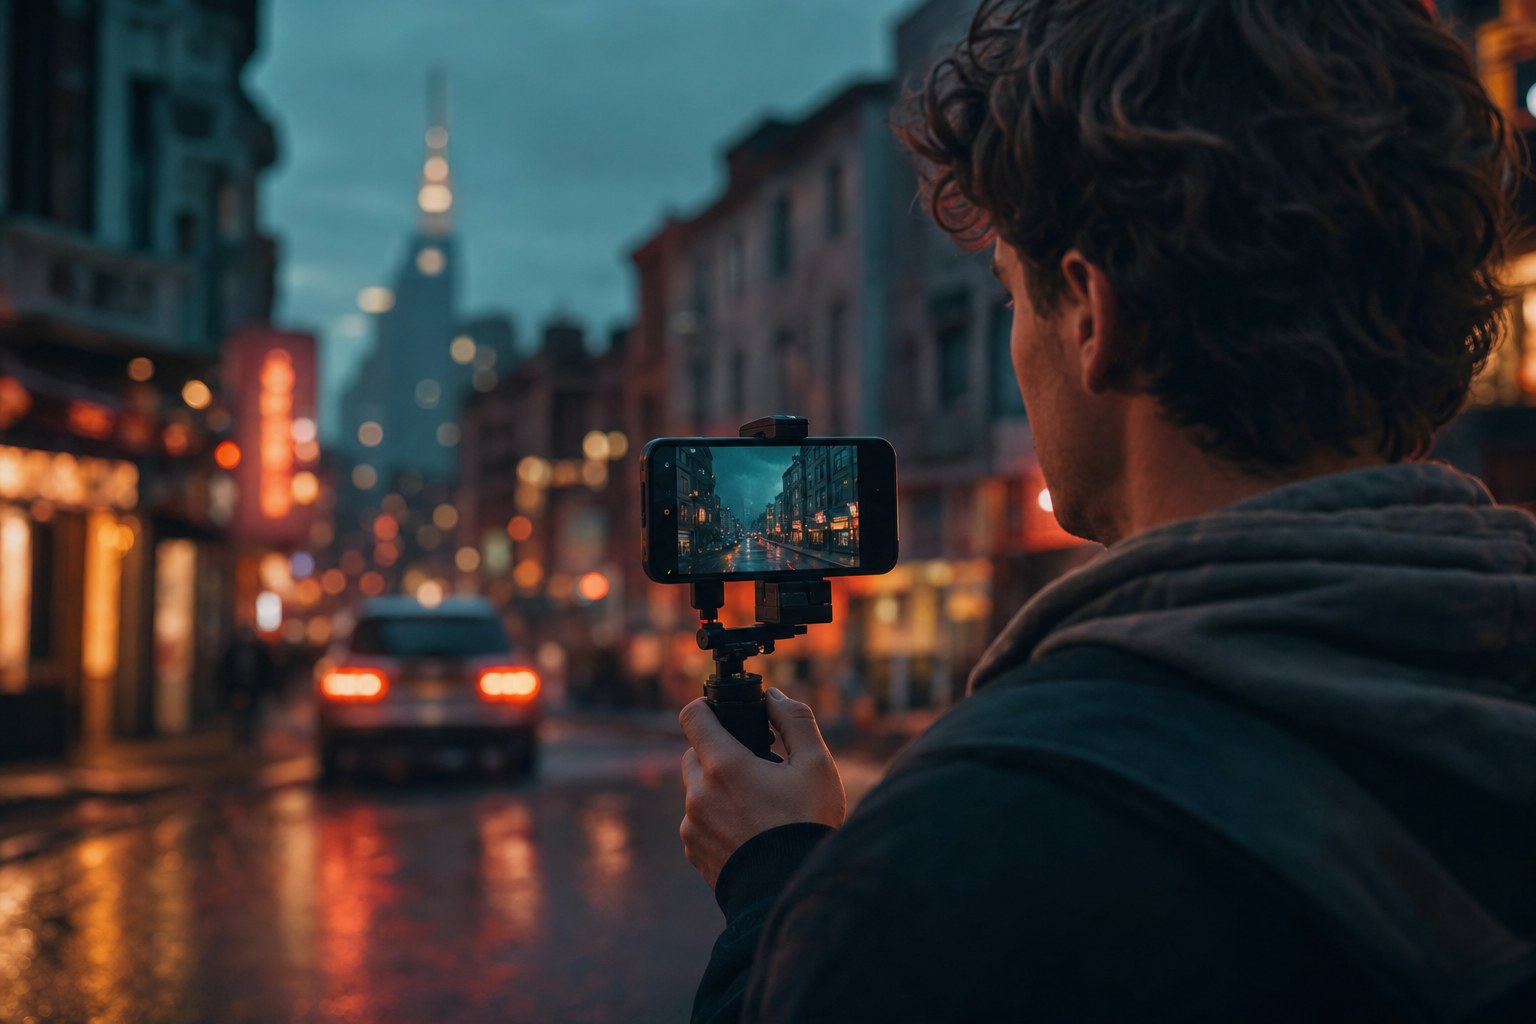
The short answer: to color iPhone Log footage, apply an Apple Log 2 to Rec.709 conversion LUT first, then your look on top. The conversion turns the flat, gray image into accurate color, but it stops there. It is a translation, not a finished grade, and that second step is the one most people are missing. Our conversion LUTs are free, further down this page, and there are also look LUTs that do both jobs in a single file.
Why your iPhone Log footage looks gray
When you record with Apple Log 2 on an iPhone 17 Pro, the camera saves as much dynamic range as possible instead of a finished image. That is why the clip looks washed out. A conversion LUT maps that Log signal to Rec.709, the standard color space screens expect, giving you correct contrast, saturation and skin tones as a starting point.
Starting point is the operative phrase. The conversion does not know what your shot is, what time of day it is or what mood you are after. Once the footage is neutral, the look is a separate decision, and it is where the image actually becomes yours.
From flat Log to a finished look
See it in motion
This skips the conversion entirely. IPHONE CINEMA is ten graded looks built and tested on real iPhone footage, and every look has the Apple Log 2 conversion built into the file. You do not convert first and then grade on top. One LUT takes the clip from flat gray straight to finished.
What’s included
| Cinematic looks | 10, each in three versions |
| Apple Log 2 versions (iPhone 17 Pro) | conversion built in, one file per look |
| Apple Log versions (iPhone 15/16 Pro) | conversion built in, one file per look |
| Rec.709 versions (any camera) | for non-Log footage |
| Total files | 36 LUTs, 33-point .cube |
The looks: Pacific (teal and orange), Print 83 (Kodak print film), Nosta (warm nostalgic negative), Verde (Fuji-inspired greens), Golden (golden hour), Nordic (cool scandinavian), Noir (night and neon), Charcoal (dramatic black and white), Sixteen (16mm vintage), Slate (moody desaturated).
$44.95 $29.95Sale priceGet IPHONE CINEMA
Before and after
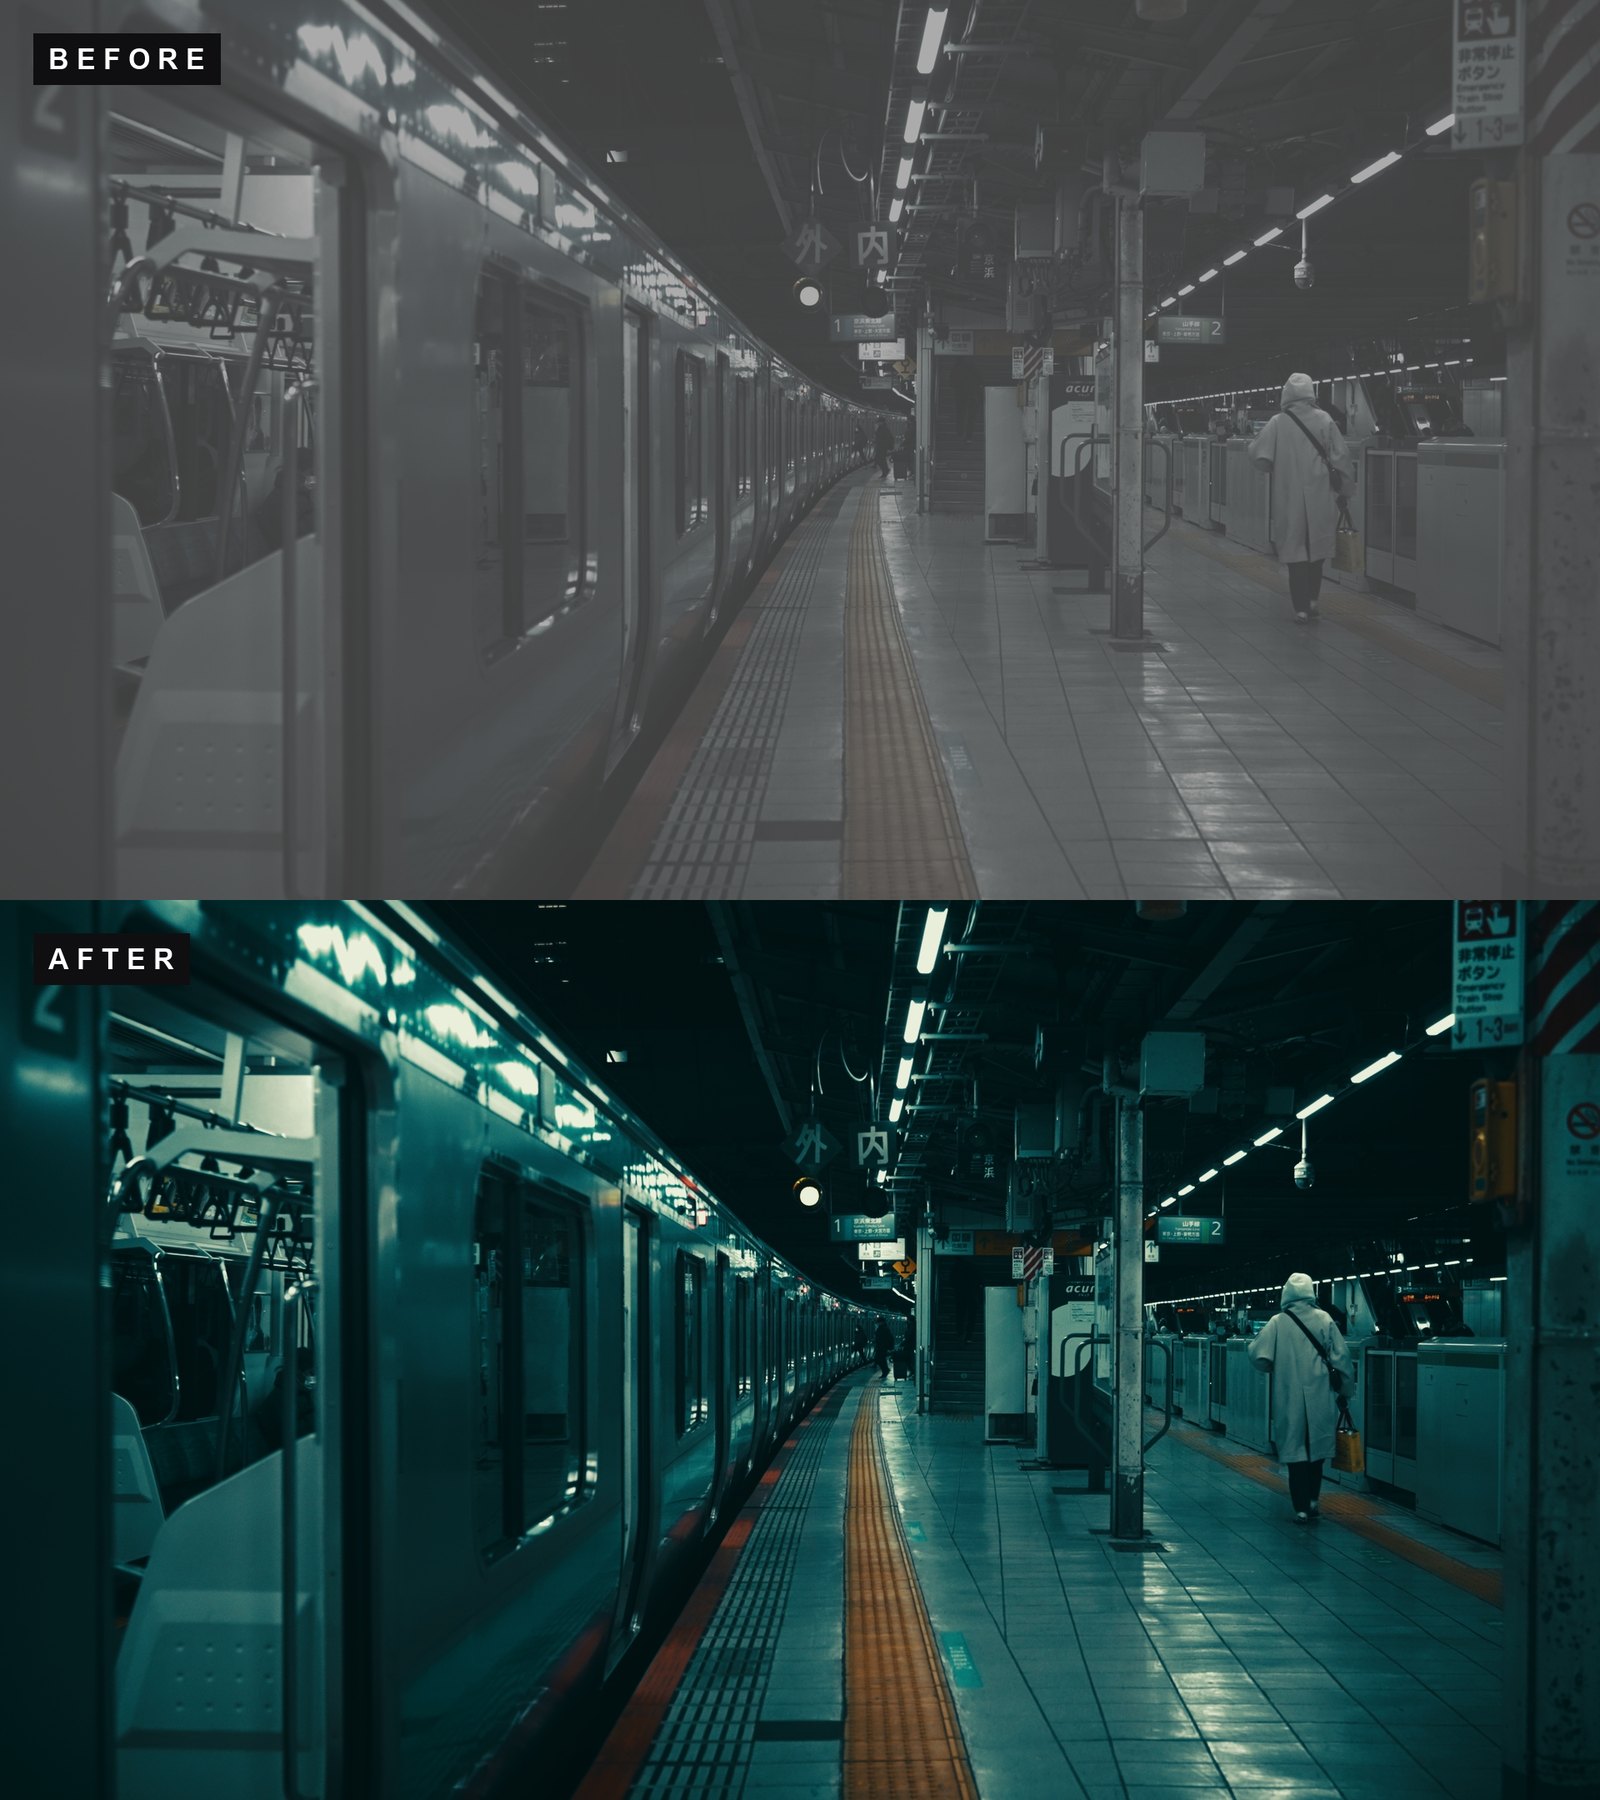 Pacific
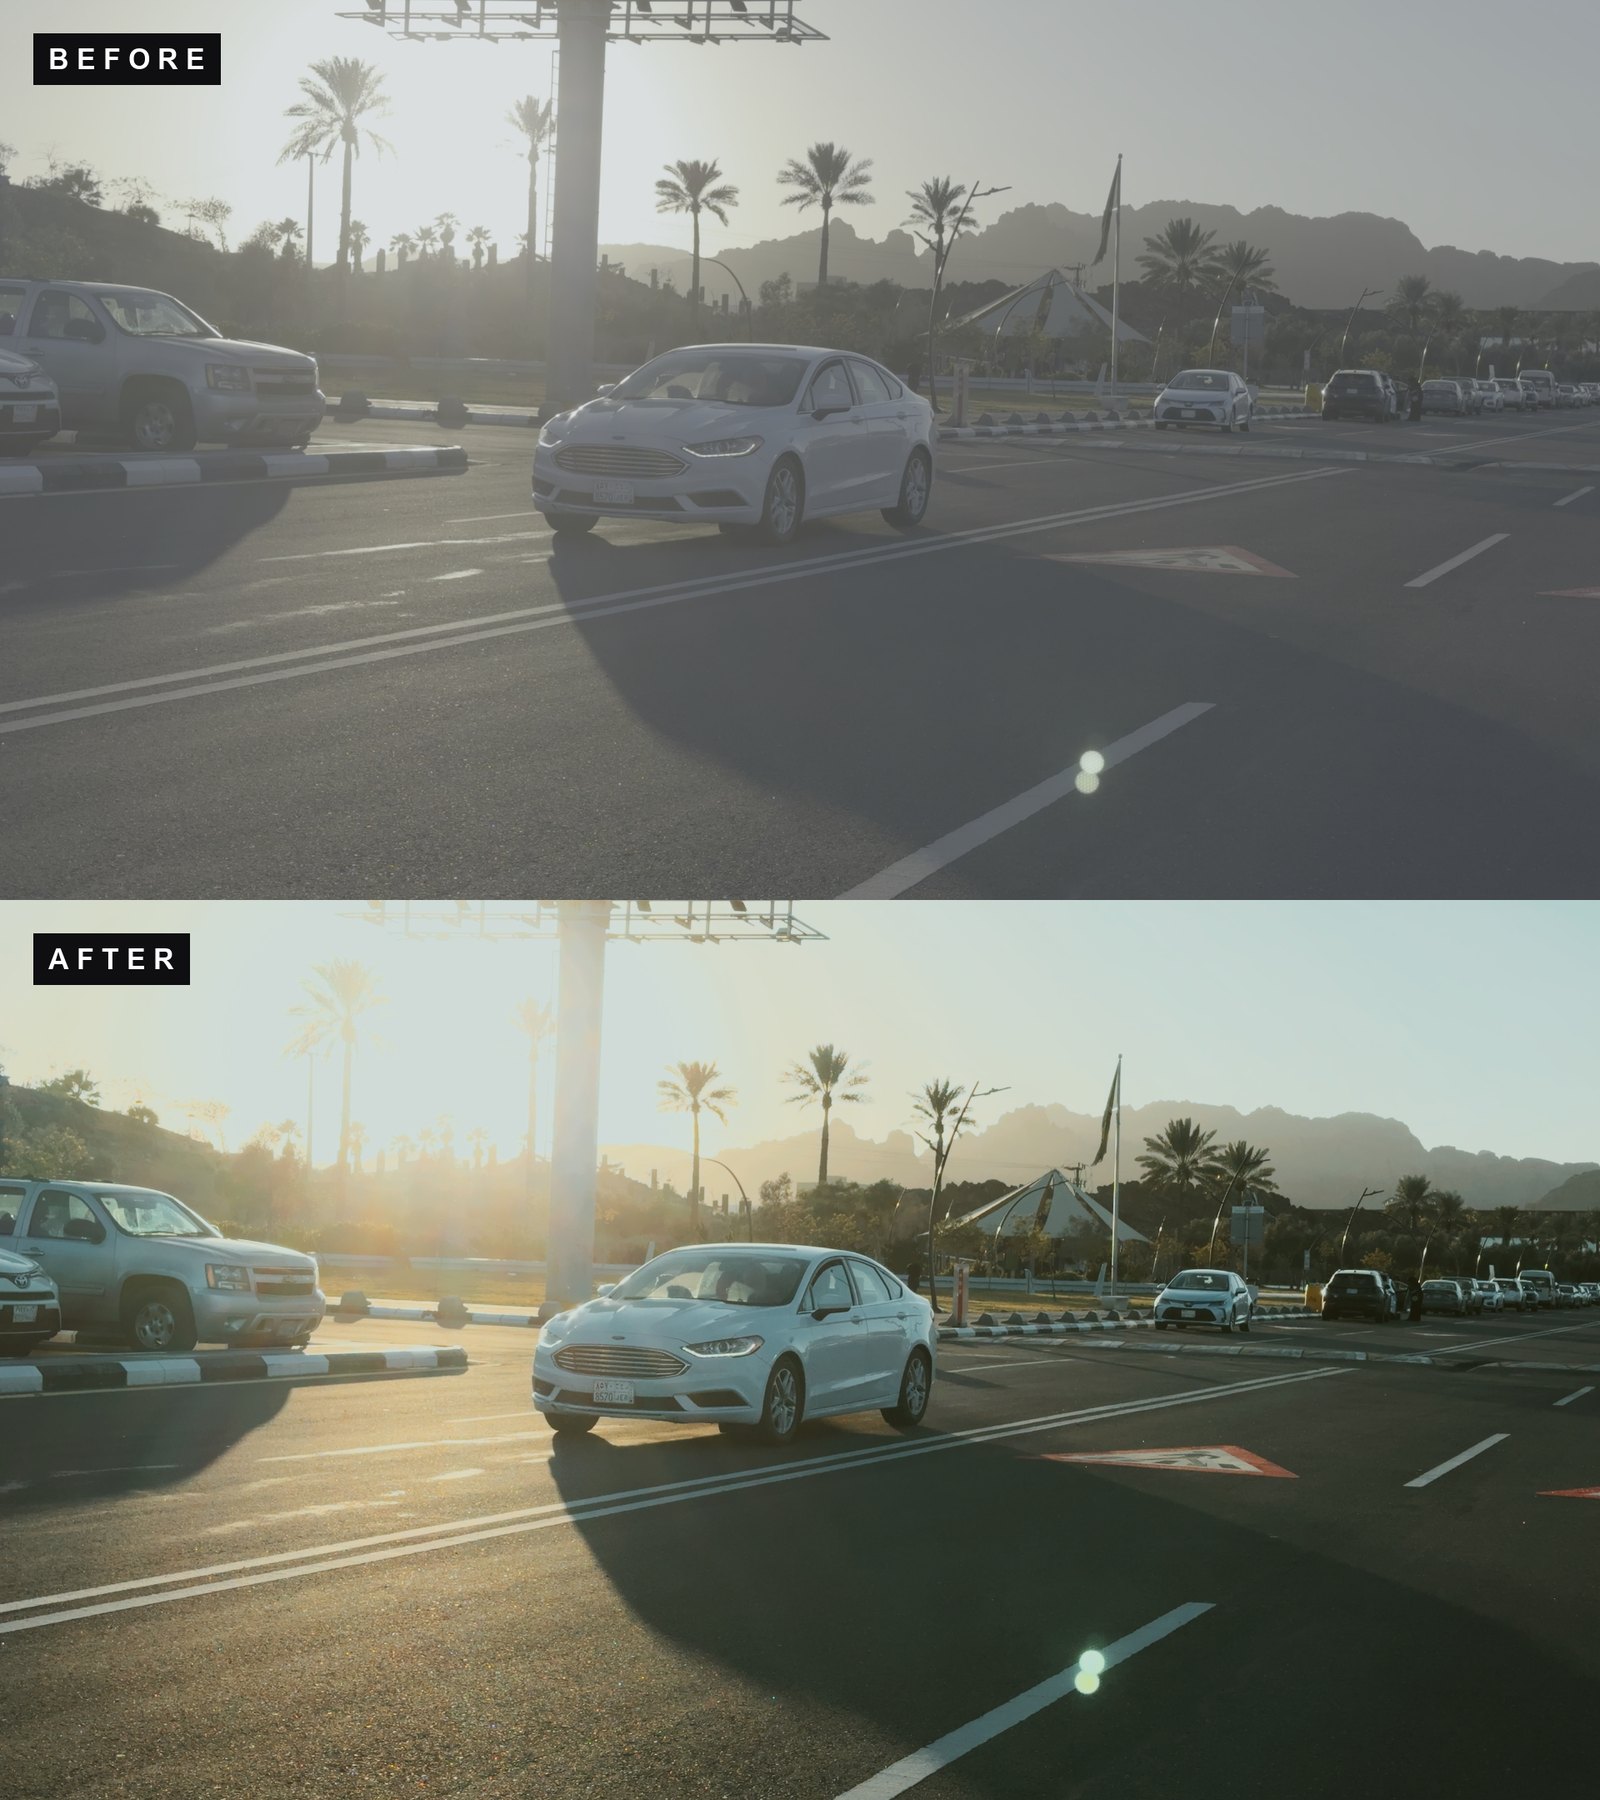 Print 83
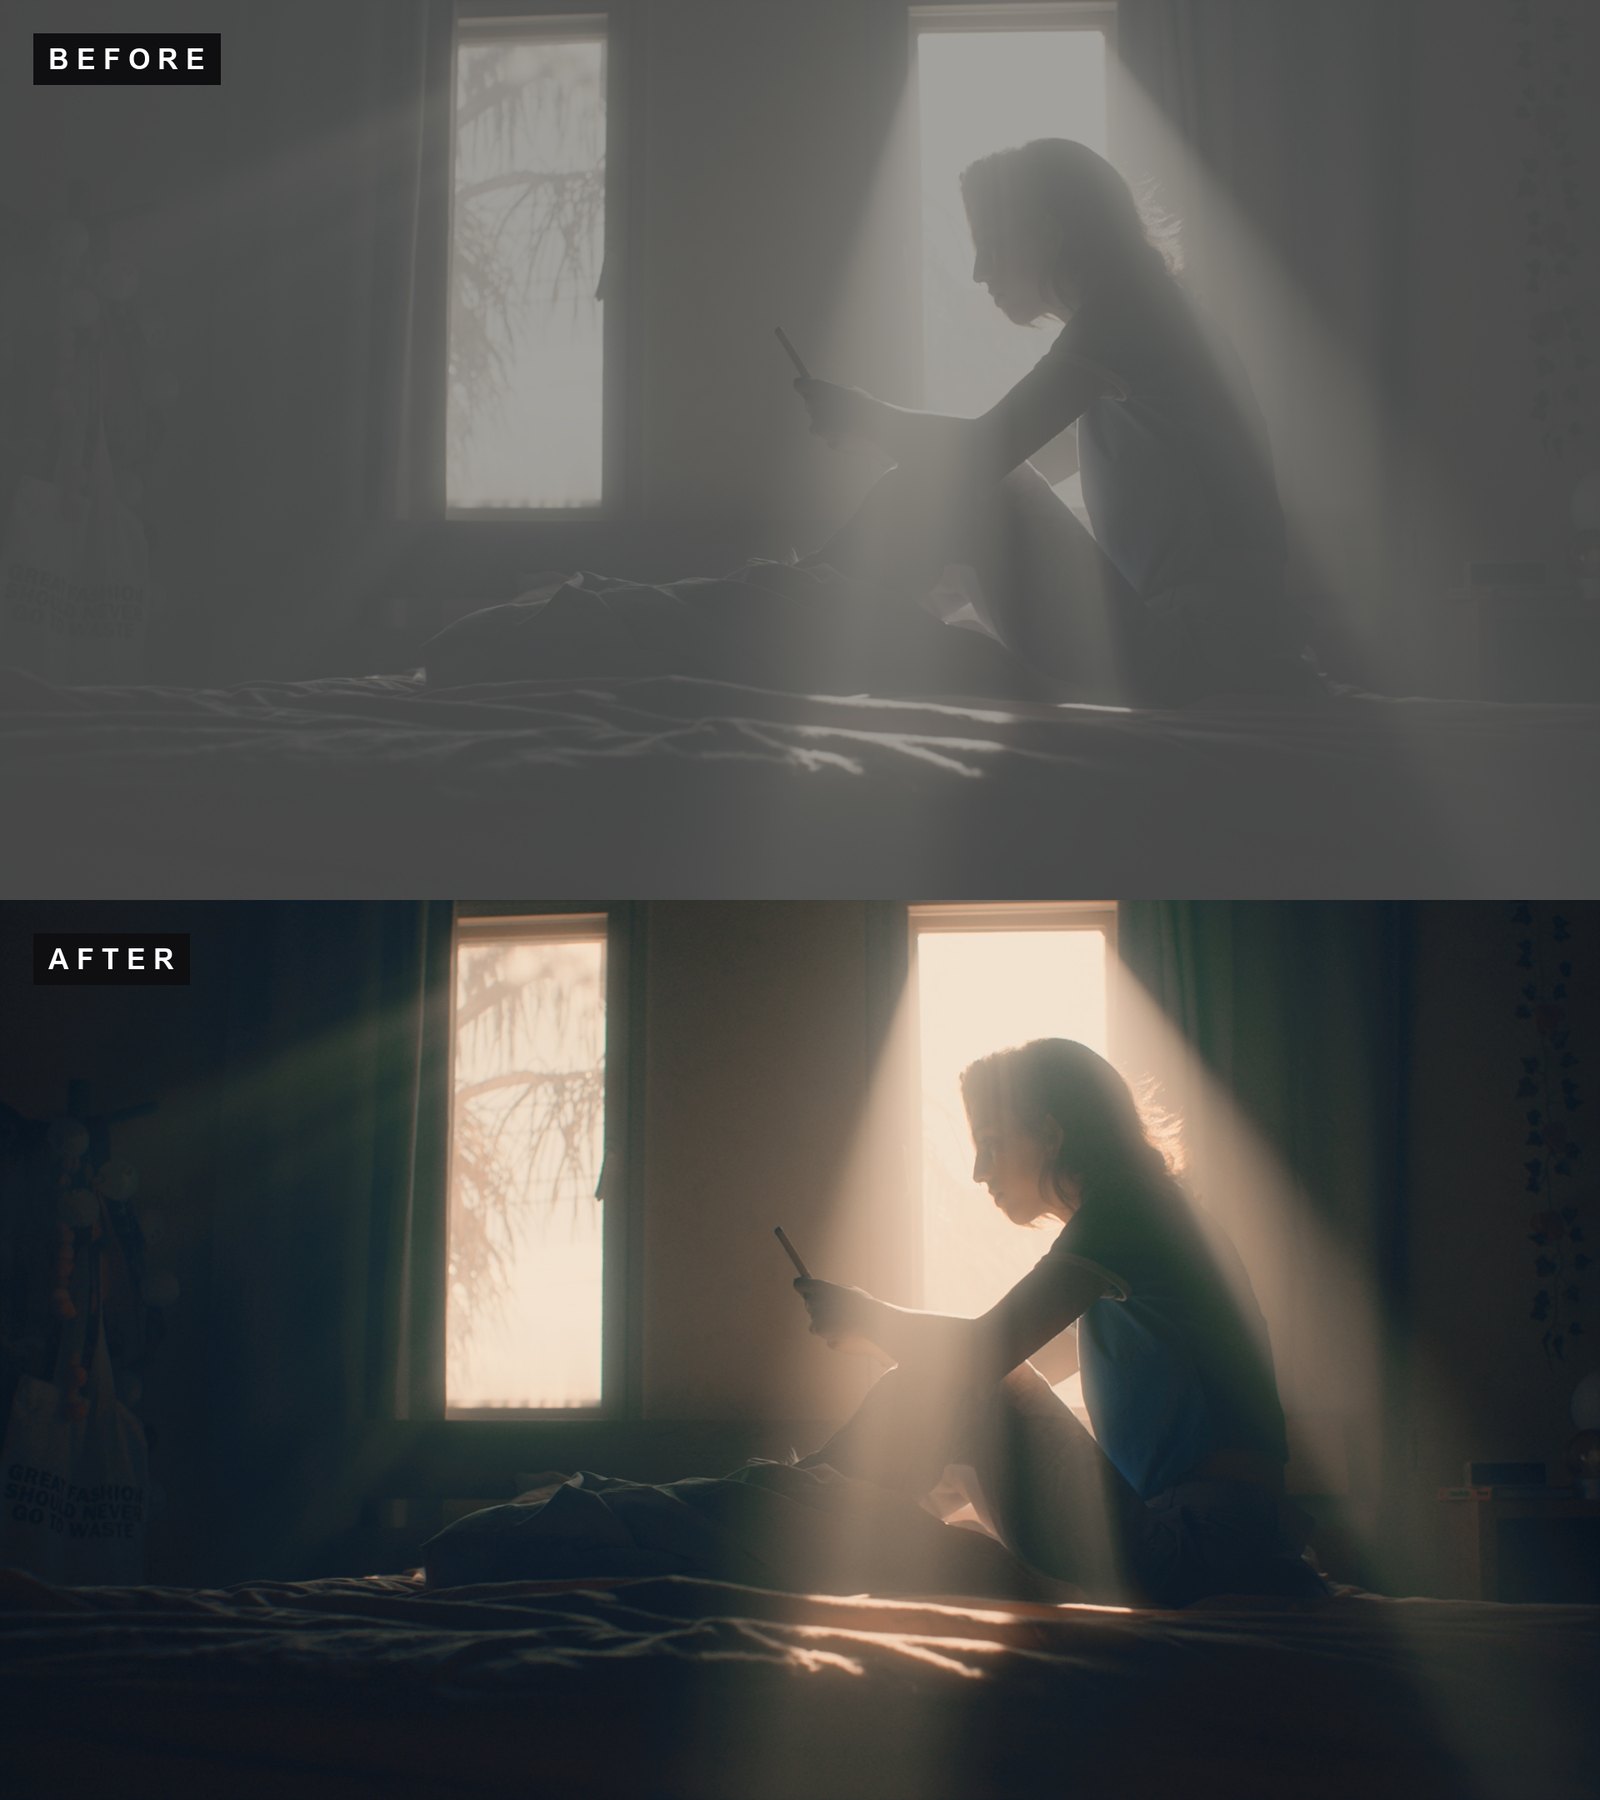 Noir
Noir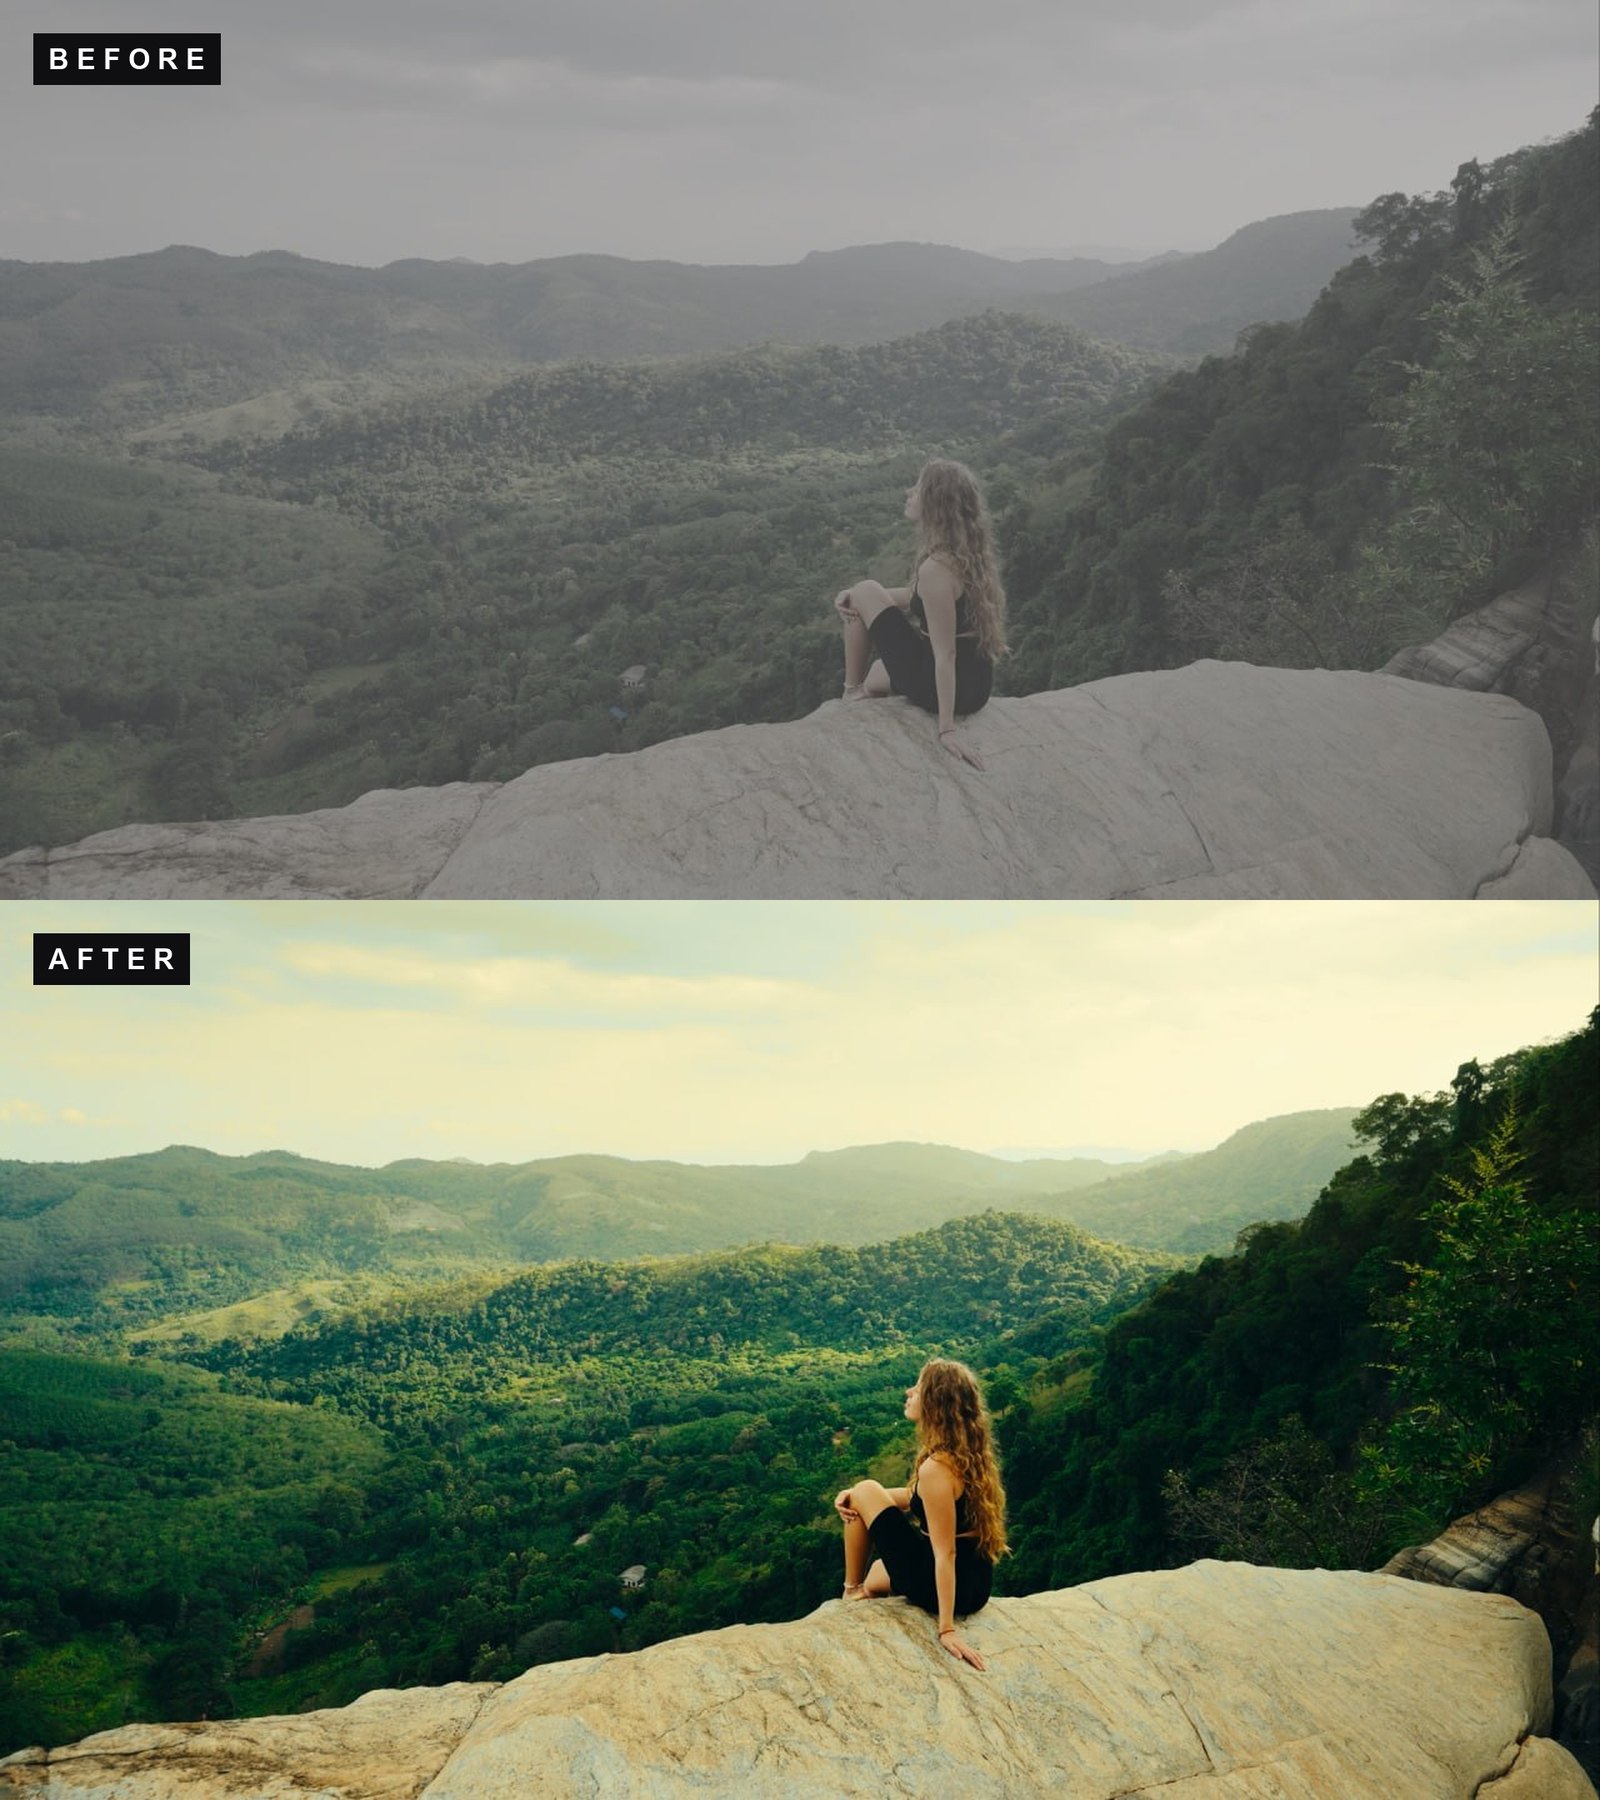 Verde
Verde$44.95 $29.95Sale priceGet IPHONE CINEMA
Download the free conversion LUT
Get the free Apple Log 2 conversion LUTs here, three .cube files at 33 points: Natural for accurate color, Strong for more punch out of the box, Soft as a flat base for your own grade.
Built by Lutcraft in DaVinci Resolve for Apple Log 2 on the iPhone 17 Pro, and tested on real iPhone footage in daylight, indoor and low light. They give you the neutral starting point described above, and the look is then yours to build. If you would rather not do it in two passes, the same conversions sit inside every IPHONE CINEMA look, so one file there handles the conversion and the grade at once.
How to use it in CapCut
- Open your project and select the Log clip.
- In CapCut for desktop, go to Filters > LUT and click Import. The CapCut mobile app cannot import custom LUT files, so on iPhone use VN Video Editor (Filter > LUT > Import) or LumaFusion instead.
- Pick one of the three .cube files (start with AppleLog2_Rec709_Conversion.cube, the Natural version) and apply it to the clip.
- Adjust intensity to taste. Done.
How to use it in DaVinci Resolve
- Drop the file in your LUT folder (Project Settings > Color Management > Open LUT Folder), then click Update Lists.
- On the Color page, right-click a node and pick the LUT under 3D LUT.
- Grade on top with a new node if you want your own look.
How to use it in Premiere Pro
- Select the clip, open Lumetri Color > Basic Correction.
- Under Input LUT, choose Browse and select the .cube file.
How to use it in Final Cut Pro
- Add the Custom LUT effect to the clip.
- In the effect settings, choose Choose Custom LUT and select the file.
FAQ
Which iPhones does this work with?
It is built for Apple Log 2, which the iPhone 17 Pro records. You need ProRes/Log enabled in Settings > Camera > Formats. On iPhone 15 Pro and 16 Pro, which record the original Apple Log, use our free Apple Log conversion LUTs instead, they are built for that curve.
Do I still need to grade after the conversion?
Yes, and this is the most common misunderstanding. The conversion moves the footage back to Rec.709 so it looks correct and neutral. After that you still balance exposure, since Log is usually exposed to the right, fix white balance, and then add the look. The looks in IPHONE CINEMA have the conversion built in, so applying one of those is the whole job in a single step.
Is it really free?
Yes, completely free. Add it to your cart and check out, no payment details needed. Use it in personal and commercial projects.
Why 33-point?
Maximum compatibility. 33-point .cube files work everywhere, including CapCut and mobile apps.
Conversion LUT vs creative LUT?
This LUT gives you clean, correct color. Creative looks (teal and orange, film emulation and so on) go on top of that. The full pack is out: IPHONE CINEMA – LUT pack with 10 creative looks in three versions each. See our rundown of the best LUTs for iPhone for how it compares. You can also browse the guides or check the shop.
Keep reading
- The Easiest Way to Edit and Color Your Log Video for Free (VN on iPhone)
- Apple Log vs Apple Log 2: What Changed on iPhone 17 Pro (and Which LUT to Use)
- Free Apple Log to Rec.709 Conversion LUTs (iPhone 15 Pro & 16 Pro)
- The Best LUTs for iPhone (Apple Log and Apple Log 2)
- How to Expose Log Footage So It Actually Grades Well
Shooting a DJI drone as well? See How to Color DJI D-Log and D-Log M Footage.